Use Search History
Multiple searches can be conducted during a working Review session, including advanced searches and those made using the Search bar. The total number of searches allowed depends on the number of open tabs (up to 50 tabs can be open in Review at one time, including the Case View tab, Search Results tabs, and Smart/Private Folder tabs). These searches are all maintained in a history list. If your case includes transcripts, search history for transcript searches is maintained on a separate tab.
Navigate to Search History
To open Review and access search history or transcript search history, follow the steps below:
-
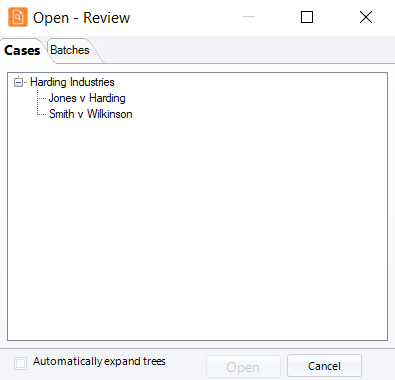
On the Dashboard, click the Review module.

-
Select a Client and Case and click Open.
The Review Work Area displays.
-
Click the Advanced button next to the search bar at the top of the work area.
-
The Advanced Search dialog box displays. To review your search history, click the Search History tab at the top of the dialog box. To review your transcript search history, click on the Transcript Search History tab.


Search history is specific to each user. For more information about search history, read through the following procedures:
Combination Searches Using Search History
Multiple document (not transcript) searches can be conducted during a working session, with each one added to the search history for the session. Results for each search are presented on a separate tab that includes a Search Results tab number.

Use these numbers to combine different searches as explained in the following paragraphs.
Syntax
In the main Search bar, you can use search numbers to repeat or combine various searches that have been performed during the current session.
-
To repeat a single search (for example, if you have inadvertently closed a needed Search Results tab), simply enter the search number using square brackets in the main Search bar. For example, [1].
-
Combine search numbers with the Boolean operators AND, OR, or NOT (see Full-text Search Options for more information on Boolean operators).
For example: [1] and [2]
-
Parentheses can be used in this type of search (as described in Alter sequence of search operations. For example:
([1] or [2]) not [3]
-
Finally, zero can be used in combination searches to represent the entire database. For example, you might want to find everything in the database except documents that were returned for another search. To do this, enter:
[0] not [6]
Using Advanced Search
If preferred, use the Search History tab in the Advanced Search dialog box for combination searches. Instructions on how to execute a search from the Search History tab are covered below.
Execute a Search from the History List
To execute a search expression from the Search History or Transcript Search History tab:
-
On the Dashboard, click the Review module.
-
Select a Client and Case and click Open.
-
On the Review main search bar, click Advanced.
-
In the Advanced Search dialog box, click the Search History tab. For transcripts click the Transcript Search History tab.
-
Complete step 6 or 7 according to your preferences and the type of search.
-
Manually enter a search expression (non-transcript searches only):
-
Enter search criteria in the Query Builder field in the form [#], where # is the search number shown in the Search History list. Use the Boolean operators AND, OR, or NOT (described in Full-text Search Options), to combine search criteria. For example:
[1] and [2]
-
See Combination Searches Using Search History for all syntax details for history searches.
-
When all search history items have been added, skip to step 8.
-
-
Use tab components to create the search:
-
Select the needed search criteria from the history list.
-
If you will be combining search criteria, select the Search Connector to be used (AND, OR, NOT).
-
Click Add Search Criteria.

-
Repeat steps 7.a - 7.c for all search-history criteria to be included in the new search. For the final criteria, change the connector to “blank” in step 7.b.
-
Go to the next step.
-
-
Optional: Include regular search expressions with search-history entries. To do so, click the Create Search tab and add needed criteria as explained in this section. For example:
-
Optional: Create multi-part searches as explained in Build Multi-part Search Expressions. For example:
([1] or [2]) not [3]
Type the parentheses manually in the Query Builder field.
-
Optional: Make simple changes manually in the Query Builder field or click Clear to remove all content in the field and start over.
-
To save the search without running it, see Save Searches from the Advanced Search Dialog Box.
-
To run the search, click Search. Depending on case size and search complexity, a progress indicator may display. When the search is complete, results appear in a new Search Results tab in the documents pane.


Clear Search History
Up to 50 searches (public and private) are maintained in the Search History tab for each Review session. If you quit LOCAL DISCOVERY, or close the Review Work Area, the history will be cleared.
You can also clear search history without quitting the LOCAL DISCOVERY session:
-
On the Dashboard, click the Review module.
-
Select a Client and Case and click Open.
- On the Review main search bar, click Advanced.
-
In the Advanced Search dialog box, click the Search History tab.
-
Click Clear Search History.
-
In response to the confirmation message, click OK.

|
TIP: If any of your searches will be needed in other LOCAL DISCOVERY sessions, save them as explained in Work with Saved Searches before quitting LOCAL DISCOVERY or clearing the history. |
Related Topics:
Version: 2023.8.12
Last Revision: 11/8/2023